In transcription, we handle a lot of audio, video, and text files. And if you work with a lot of files, it’s important to have a file naming scheme. Our file naming scheme consists of a couple of rules: never us spaces in file names and use the YYYY-MM-DD date format.
That’s it.
The spaces rule comes from having weird bugs when we upload transcripts – especially if the filename ends with a space. Replacing spaces with hyphens, or underscores, also has the advantage of creating more readable urls!
Now, Windows does not have an easy way to batch rename your files or folders.
Well, it does, but not through the GIU.
For as long as I can remember I have used the Command Prompt (CMD) to replace spaces with hyphens or underscores in Windows filenames.
But for the last couple of years, I have been using PowerShell. So, today I’m going to share with you how I replace spaces with hyphens or underscores in filenames using a PowerShell script.
Let’s jump right into it.
Step 1: Copy this Line of Code
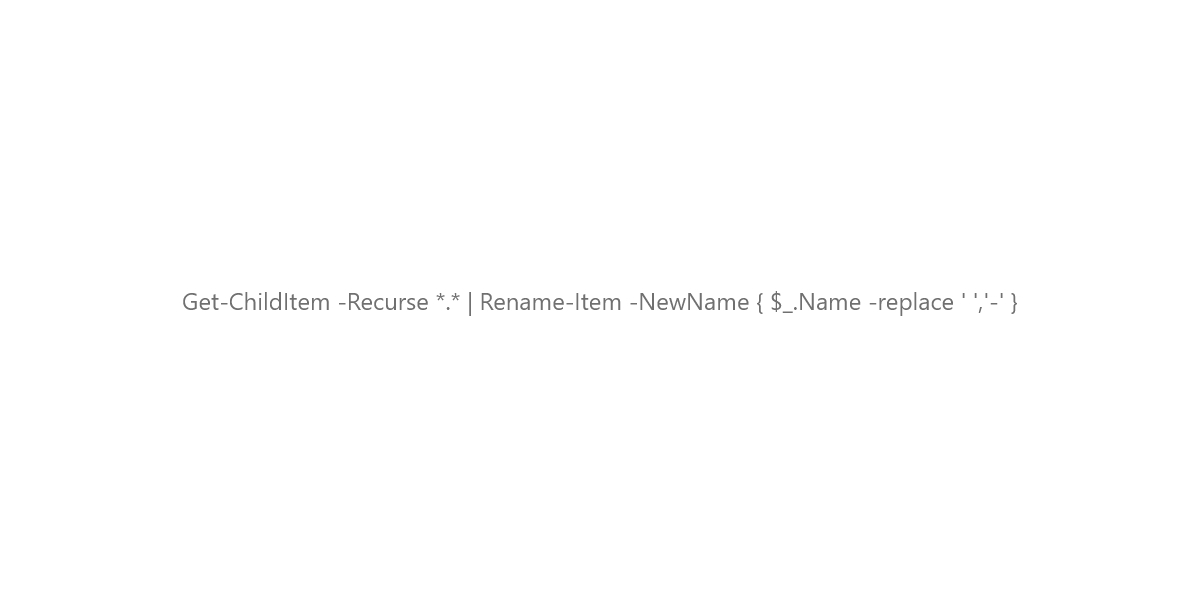
The first step is to copy this line of code:
Get-ChildItem -Recurse *.* | Rename-Item -NewName { $_.Name -replace ' ','-' }This code replaces a space with a hyphen in PowerShell. If you want to replace space with underscore using PowerShell and/or geek out on how this code does what it does, there is a detailed explanation at the end of this post.
Step 2: In Windows Explorer Navigate to Parent Folder
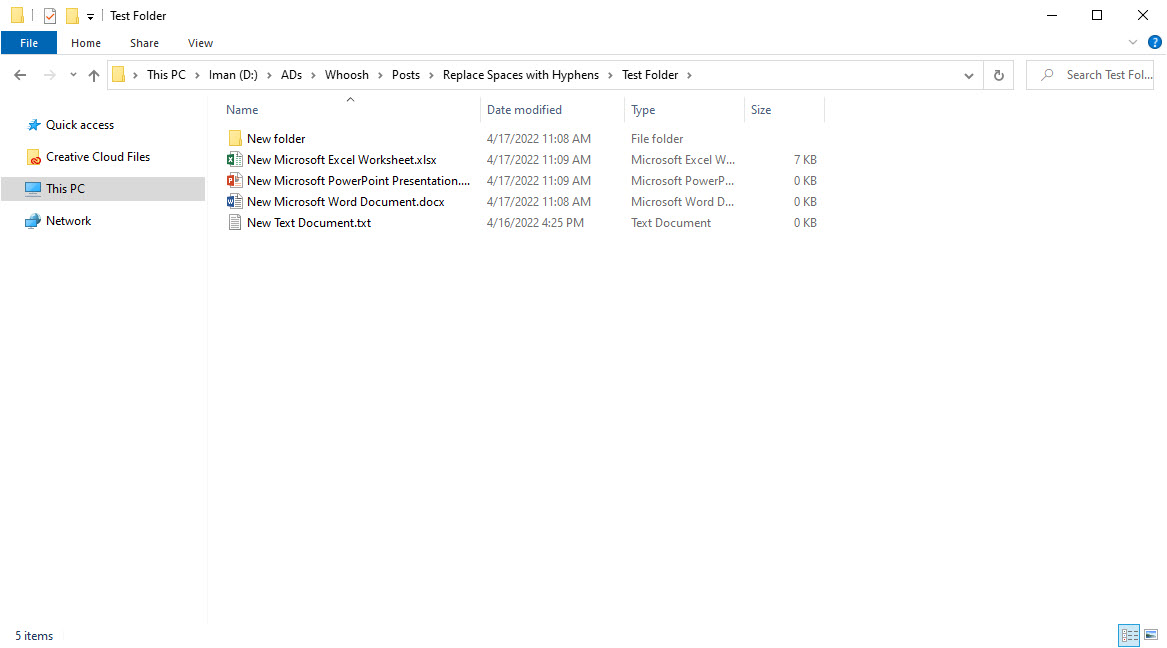
Open Windows Explorer and navigate to the parent folder. This is the folder that contains the files that you want to replace spaces in their filenames with hyphens.
Step 3: Click on the Window Explorer Address Bar

In the parent folder, click on Window Explorer’s address bar. This will select the folder path of the parent folder. You can also use the Alt + d keyboard shortcut key
Step 4: Type PowerShell

In the address bar type PowerShell. Typing PowerShell in Explorer’s address bar will open PowerShell in the current directory – the current folder.
Step 5: Press Enter
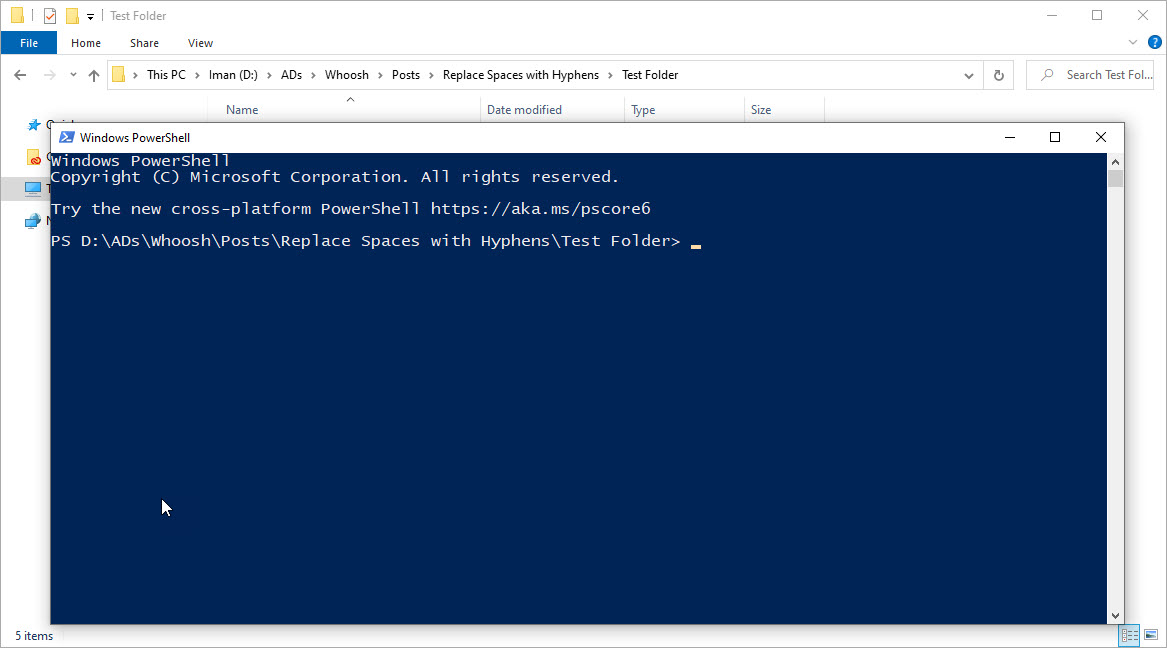
Press the Enter key to open PowerShell in the current folder.
Step 6: Paste the Code in PowerShell
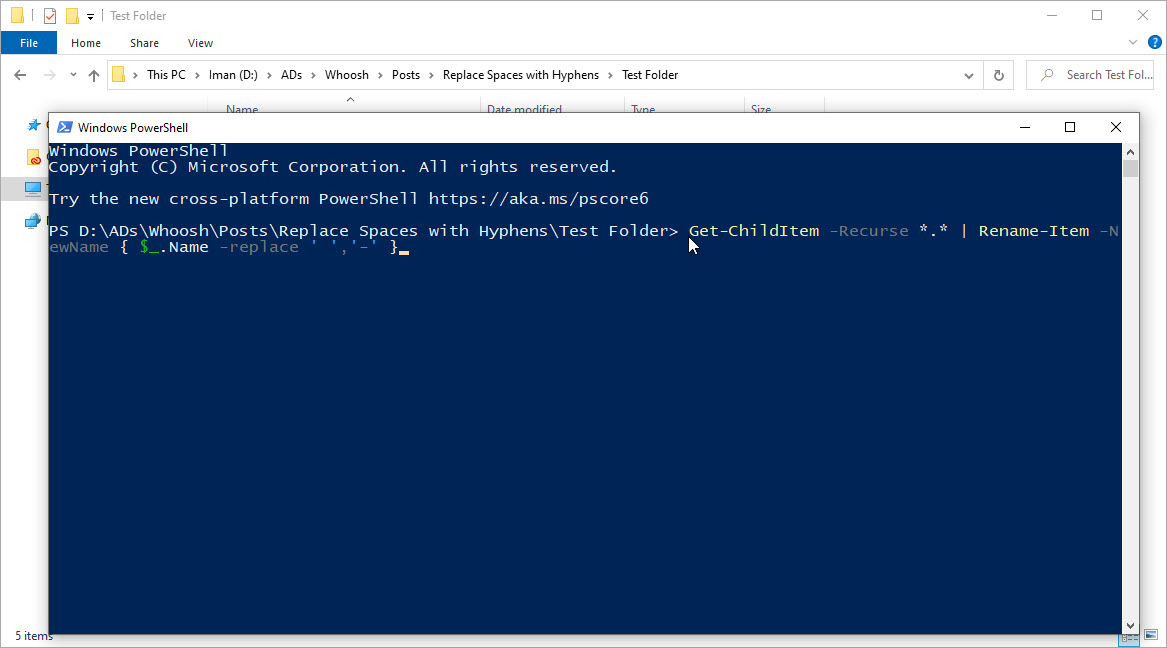
Paste the code you copied from this post in Step 1 into PowerShell. You can use the default Ctrl + v keyboard shortcut key. Alternatively, right click the PowerShell window with your mouse and it will paste the code.
Step 7: Press Enter
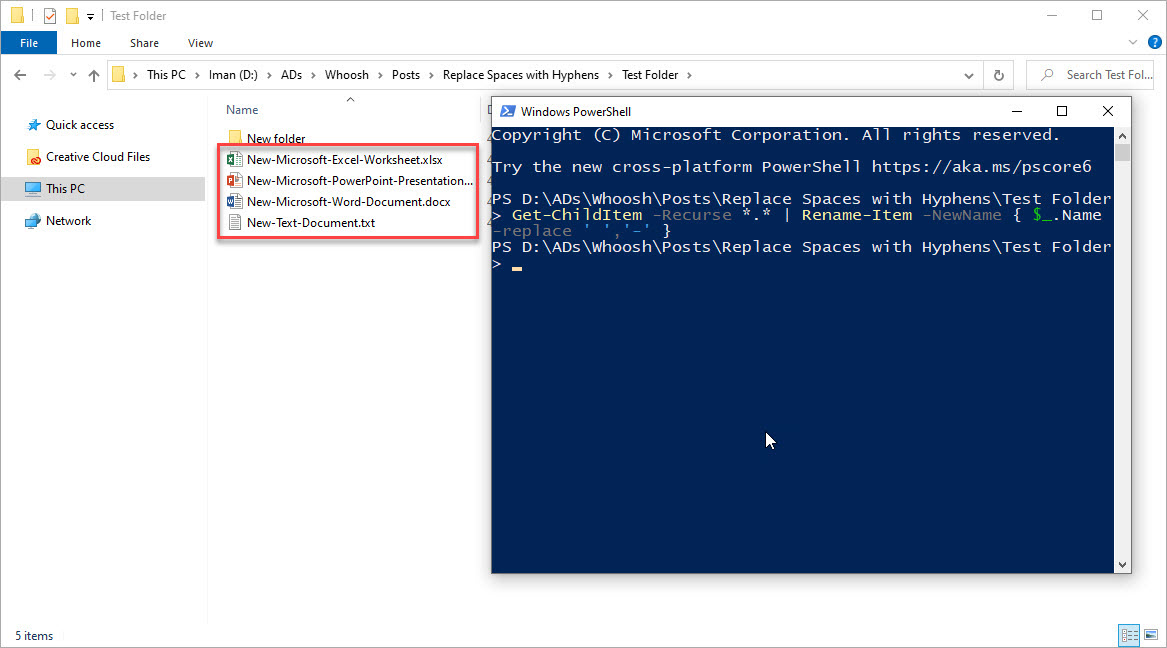
Pressing the Enter key runs the code. Once PowerShell has finished running the code it will output the parent folder path. And as you can see in the above image, all the spaces in the filenames of my files have been replaced with hyphens.
Extra Credit
As promised, let’s geek out on the code and learn how you can change it to suit your needs. Here is the code again.
Get-ChildItem -Recurse *.* | Rename-Item -NewName { $_.Name -replace ' ','-' }I’ll try and explain what each “element” does – I am not an expert in PowerShell, so if you have any suggestions on how to explain it better, clarifications etc. let us know in the comment section below.
Let’s start with the Get-ChildItem command. This command tells PowerShell to list all the items in the current folder, aka parent folder.
The -Recurse term lists all the items in the subfolders. If you do not wish to change the spaces to hyphens of filenames in the subfolders, remove this term from the code.
The *.* is a filter that restricts our selection to files (limits the items/files that Get-ChildItem lists). You can also use other filters, for instance *.txt – only txt files, *.jpg for JPEG files, -Directory for folders…, to limit your selection. Or have no filter and affect all the files and sub-folders in the parent folder.
In PowerShell the | (vertical bar) is known as pipe. The pipe is used to join commands. In our code we are combining the Get-ChildItem, our first command, with Rename-Item. So we are going to list all the files using first command in the pipe and then rename them using the second command – this is called piping.
Rename-Item is a command that does the heavy lifting of renaming our files.
-NewName is a parameter of the Rename-Item command. What it does is accept the input of our new name and this value is determined by our script block; all the code within the curry brackets. In other words, the value of NewName is a script block that runs before the value is submitted to the NewName parameter.
So let’s look at this script block.
The opening { and closing } curry brackets mark the beginning and end of the script block.
The $_ is a PowerShell shorthand of saying everything before the pipe. So we are referencing whatever output we got from our Get-ChildItem command, which is a list of all the files in the parent folder and subfolders.
The .Name is a property of the Get-ChildItem command. What it does here is tell the rename command that we only want to change the names of our files.
The -replace is the comparison operator that finds a specific pattern and replaces it with a specified value. Simply, find this, replace it with this: input, output. We use it in our script block to find the spaces in our filenames and replace them with hyphens. The replace operator accepts two values, what it needs to find, and what you want to replace it with. The two values are separated by a comma. This is the part of the code that you can change to suit your needs.
For instance, if you want to replace space with underscore in PowerShell, you’d change this part of the code to ‘ ‘,’_’. We’ve simply changed the substitute value to underscore: ‘_’.
And that’s it for our script block.
To recap: The Get-ChildItem command gets all the items (we filter only the files using the *.* wildcard) in the current folder then pipes (sends) them to Rename-Item command. The value of NewName is a script block that runs before the value is submitted to the NewName parameter. In the script block, the $_ automatic variable represents each file object as it comes to the command through the pipeline. The script block uses the Name property and the -replace operator to find and replace the spaces in each filename with hyphens.
That’s it for this post. If you have found it useful, let me know in the comment section below and I’ll post more PowerShell tutorials. Cheers.
Leave a Reply