This post is a step by step guide on how to easily extract mp3 audio from mp4 video using VLC, a free open source software, on Windows.
Let’s get to it.
Step 1: Open VLC
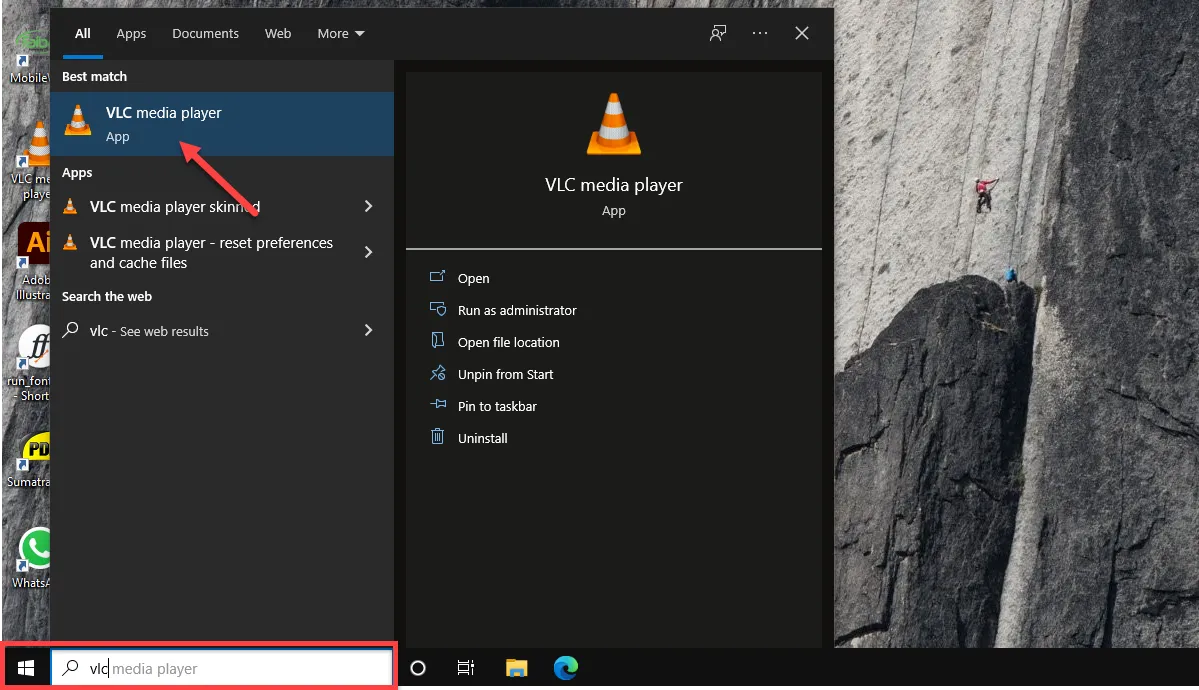
First, open VLC. If you have not installed VLC on your computer head over to videolan.org, download and install VLC. To open VLC on a Windows 10 computer simply type VLC in your windows search bar and VLC will show up in the search results. Press enter and VLC will launch. Alternatively, go to your desktop and double click on the VLC shortcut to open VLC
Step 2: In VLC open the Open Media Window
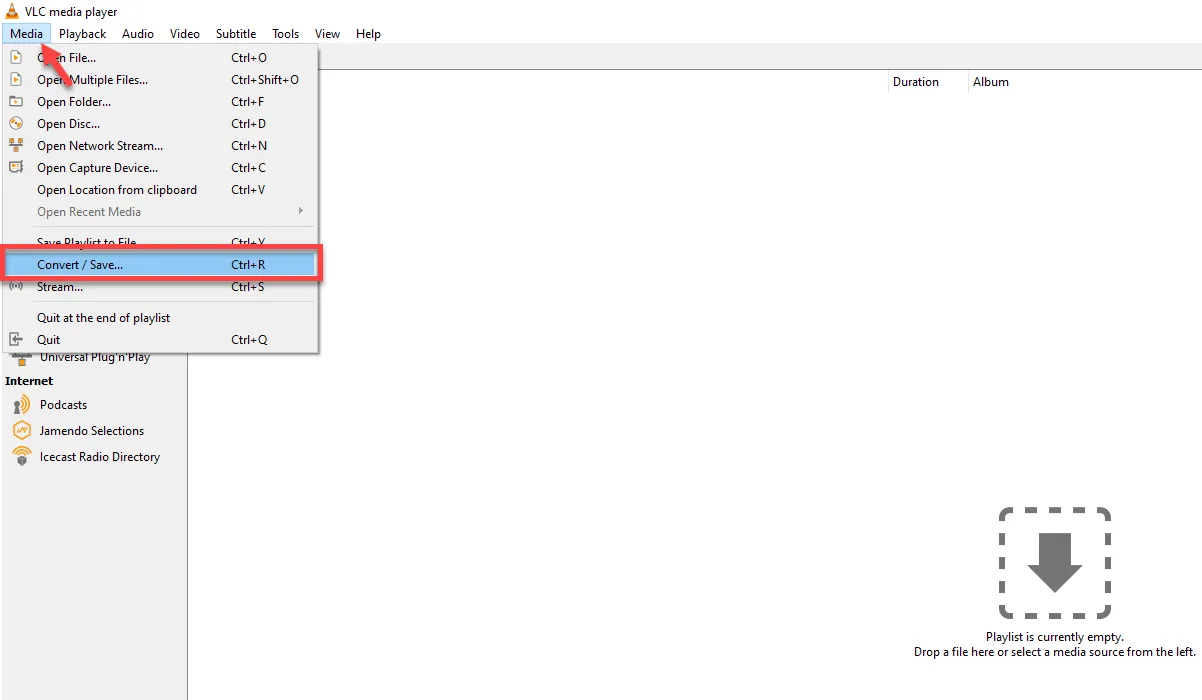
The quickest way to open the Open Media window in VLC is to use the shortcut key: Ctrl + R. Alternatively, in the top left hand corner of VLC, click on Media. Then scroll down to menu item Convert/Save and click on it to open the Open Media Window in VLC.
Step 3: Add the MP4 video you want to extract MP3 audio
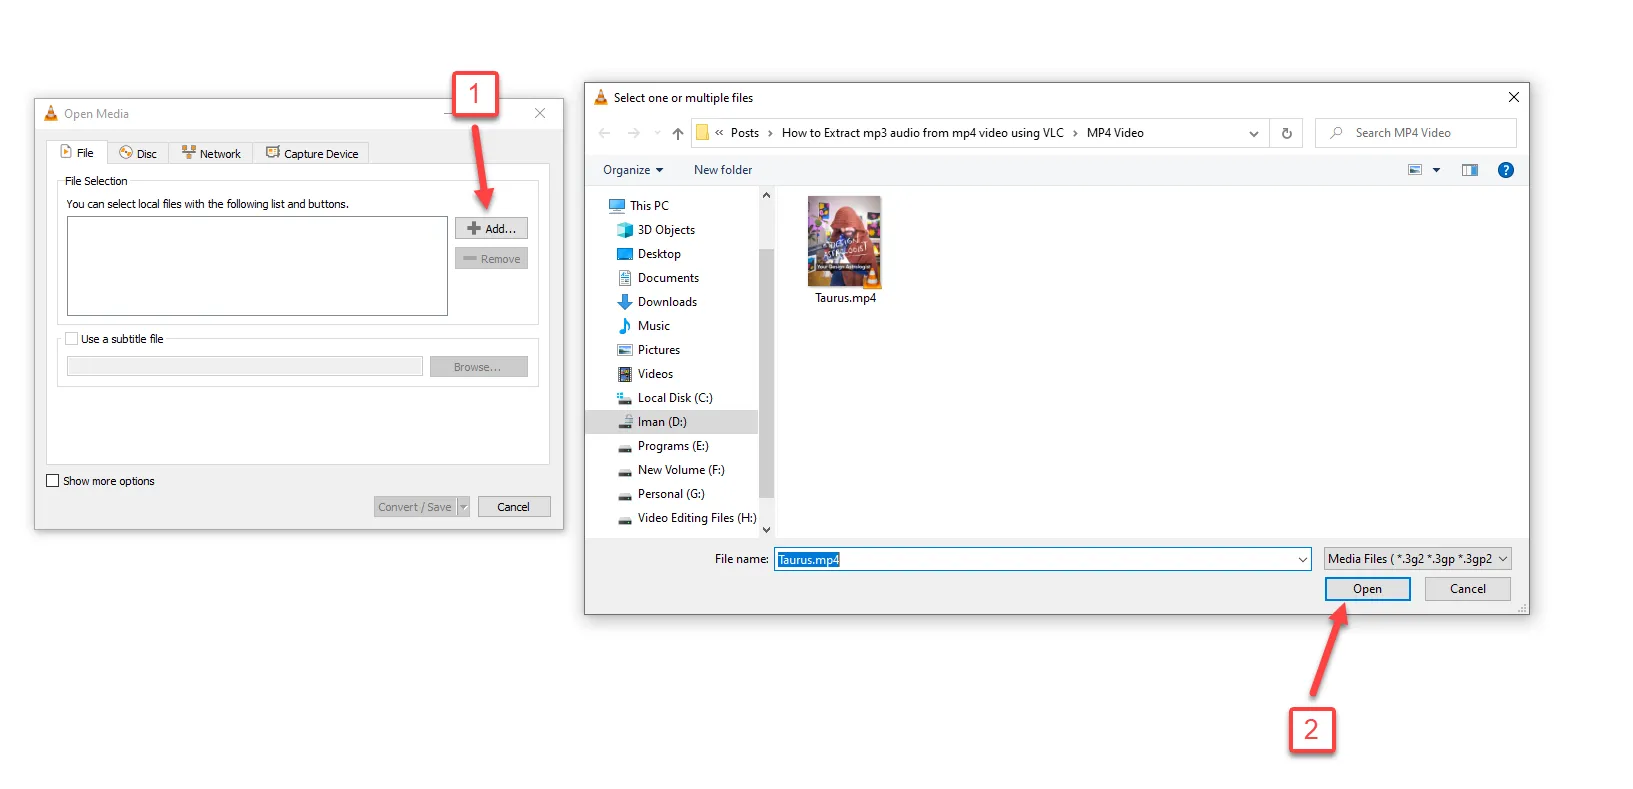
In the Open Media window, click on the Add button and in the file explorer window that opens, browse to the folder that contains the MP4 video that you wish to extract MP3 audio. Double click on the MP4 video to add it to the conversion list. You can also click on the Open button on the bottom right hand corner of the explorer window to add the video to VLC conversion queue.
Step 4: Open Convert Window
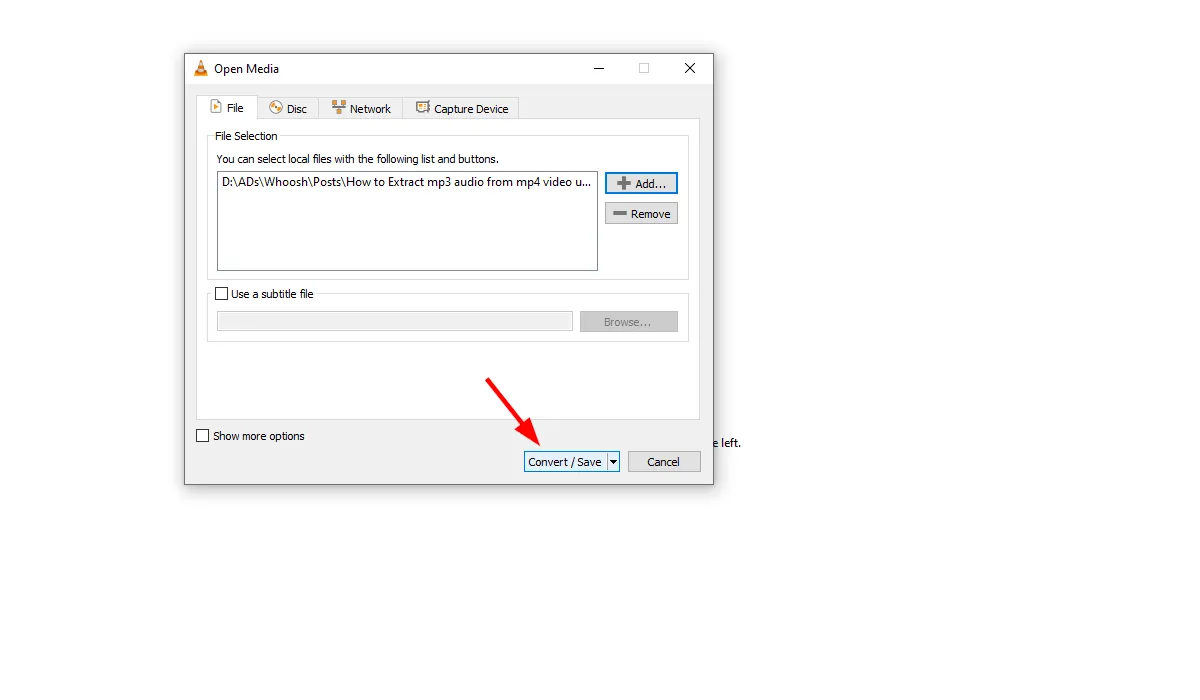
In the bottom right hand corner of the Open Media window, click on the convert/save button to open the VLC convert window.
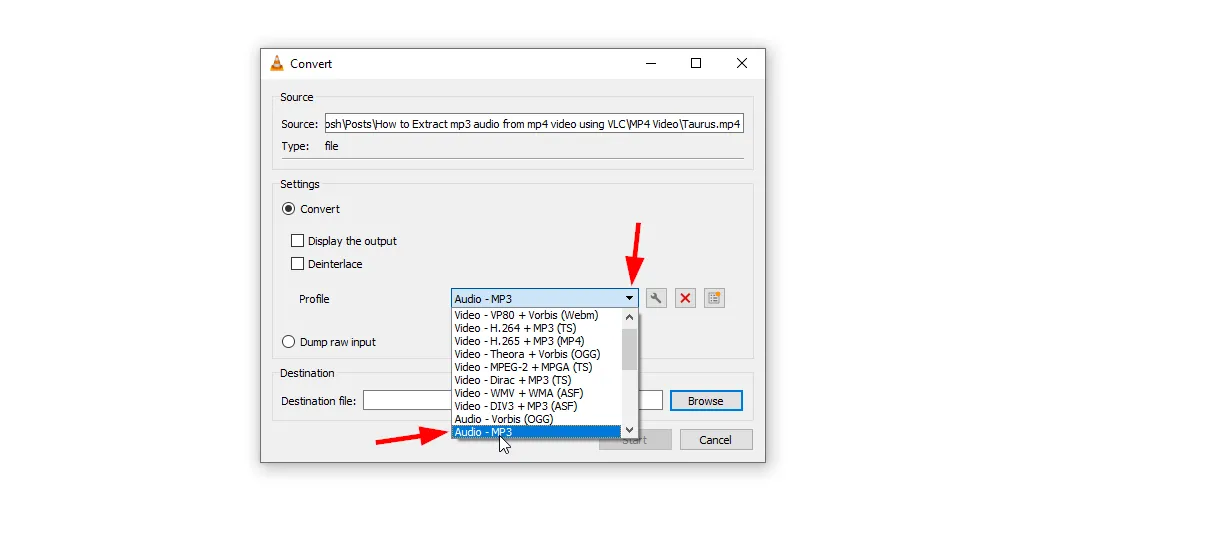
Step 5: Select the MP3 Audio Profile
In the VLC convert window, under settings, select the Audio – MP3 as your profile. This will set the extraction parameters for your MP3 audio file. If you wish to change these parameters, you can click the spanner icon, then select the Audio Codec window. The default MP3 encoding (compression) parameters on VLC are 2 channels (stereo) at 128kbps.
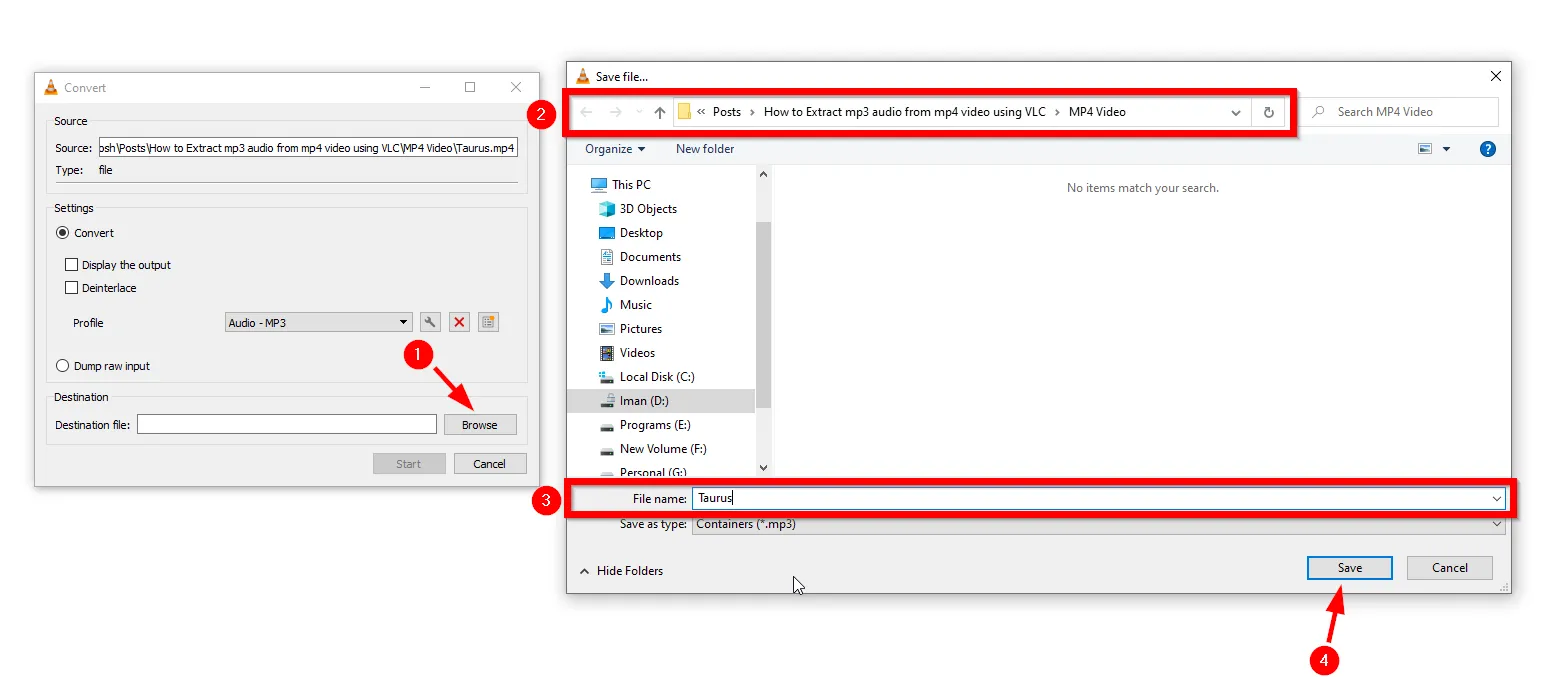
Step 6: Set the Extracted MP3 File Name
Next you need to select the destination folder where you’ll save your extracted MP3 file, and then set a name for the file. To achieve this, click on Browse, located at the bottom right hand corner of the convert window, to open the Save File window. You can use the navigation bar at the top of the Save File window to navigate to the folder where you want to save the MP3 file.
Once you have selected your destination folder, go to the File Name tool bar and type the name of your MP3 file. If you want to save your MP3 file using the same name as your MP4 video, make sure to remove the .MP4 extension at the end of the file name. Then press the Save button.
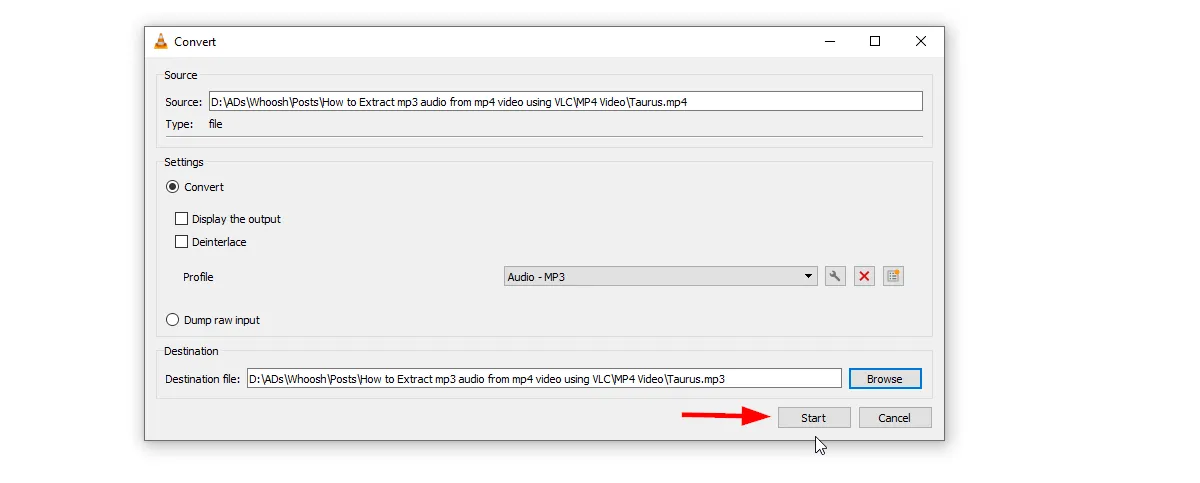
Step 7: Click on Start to begin MP3 audio extraction from MP4 video
Finally, in the Convert window, click on the start button to being extracting your MP3 audio file from the MP4 video.
How long the extraction process lasts will depend on the duration of your MP4 video, the extraction parameters that you set in Step 5, and the processing power of your computer. For comparison, it takes me about 10 seconds to extract an MP3 (using the default settings) from a 10 minute long MP4 video.
And you will find your extracted mp3 audio in the destination folder you set in step 6.
That’s if for this post, check out our post on how to extract audio from a DVD using VLC, and if you found it useful, let me know if the comments section below.
Leave a Reply